Creating Your Lemax Display
We did it, so you can too!
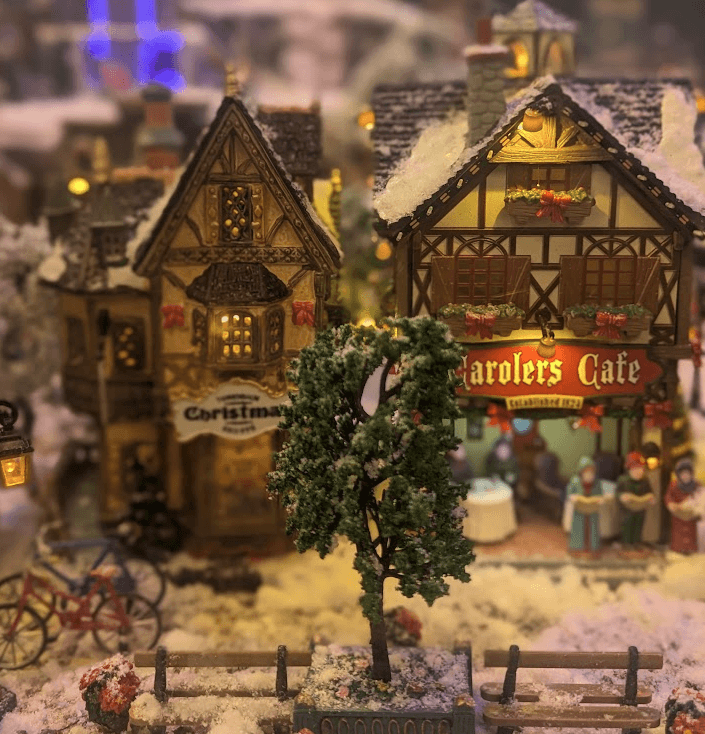
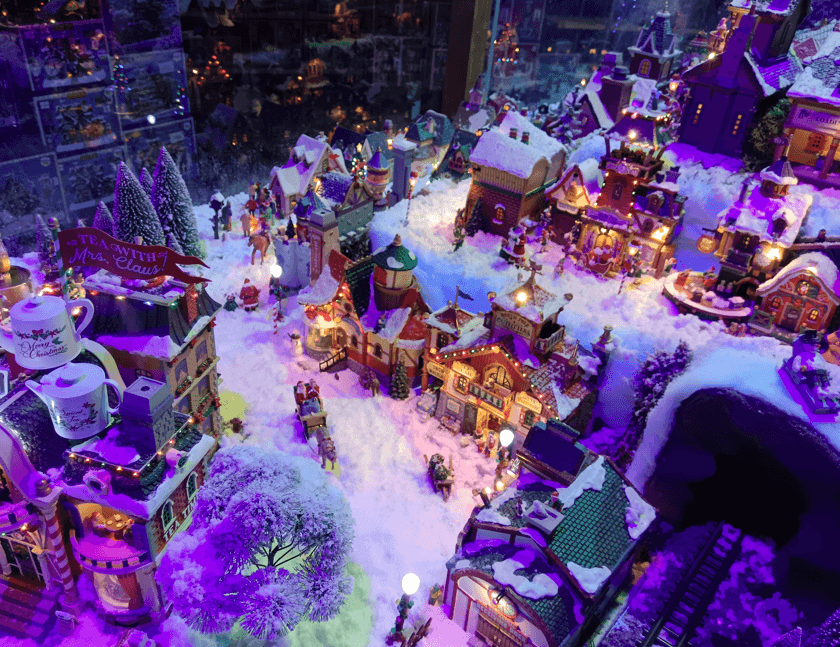
Our 2024 display was made entirely by only Two members of staff. They made a plan, sourced the relevant materials and once our stock arrived, executed their plan perfectly and created one of, if not the best display Monkton Elm has had to date!
These were no professionals, this was their first try, but they did it.
So, if you ever doubt yourself, you’ll be amazed at what you can achieve.
To help you along the way, we’ve spoken to one of this years display designers and he’s offered us his key tips and suggestions when it comes to creating your very own Lemax Christmas Village!


Make a plan, but don’t be afraid to change it.
One of the most important aspects of any Christmas Village Display is the plan. Make sure you have at least a basic idea of what it is you want to achieve before taking the plunge.
This helps when it comes to purchasing new houses, figures and landscape pieces. But one thing we learnt whilst making the Monkton Elm display was plans can change! We found we hadn’t accounted for the size of the bases on certain buildings, so we had to improvise when laying out the carnival section of our display.
We had originally planned for a “Country Park” leading into the carnival, but unfortunately we didn’t quite have enough room. So our “Country Park” pieces got incorporated into our smaller mountainside settlement and we ended up creating a really nice campsite area which was never on the agenda when we laid out our plans.
Slowly wins the race
One good tip is to take things slow. Once you have all your village pieces, you’ve bought your trees, snow and all your figures the urge to just go ahead and lay it all out can be overbearing.
But, if you take your time, start by creating your base. Then neatly lay out your buildings to get an idea of how they all fit. Hook up any power adaptors and test your buildings. Then, once this is done, make your landscapes (we recommend mouldable rock wrap from a company called “my village” it’s so easy to use and gives an amazing cliff face look) then, once that’s done lay out your figures and secure them if need be.
Before finally sprinkling your snow and making your display come to life.

Get Creative!
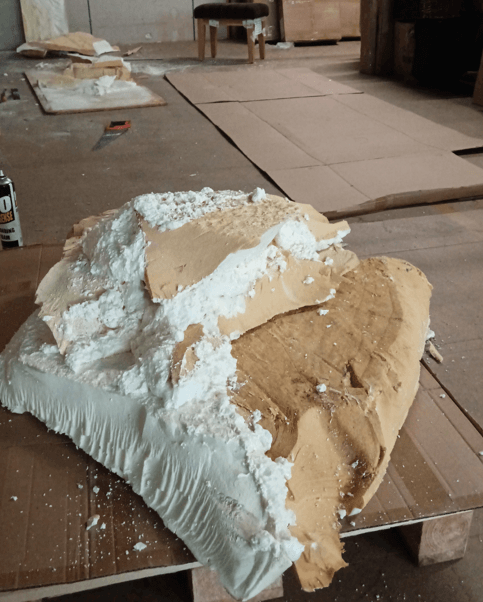
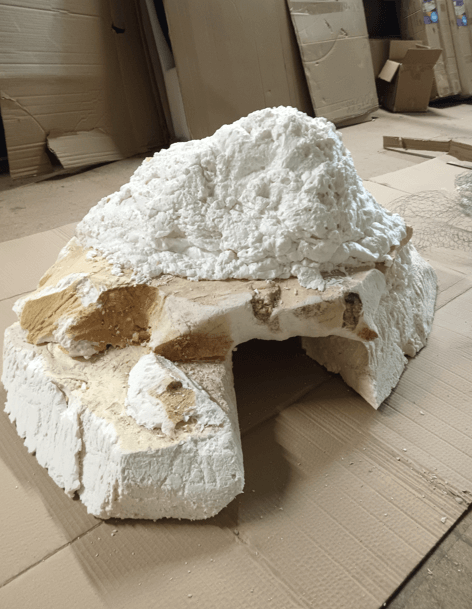
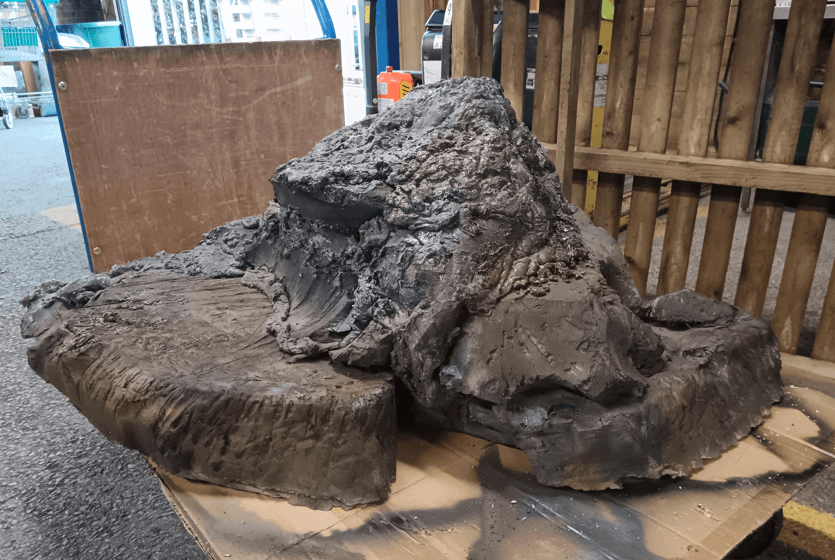
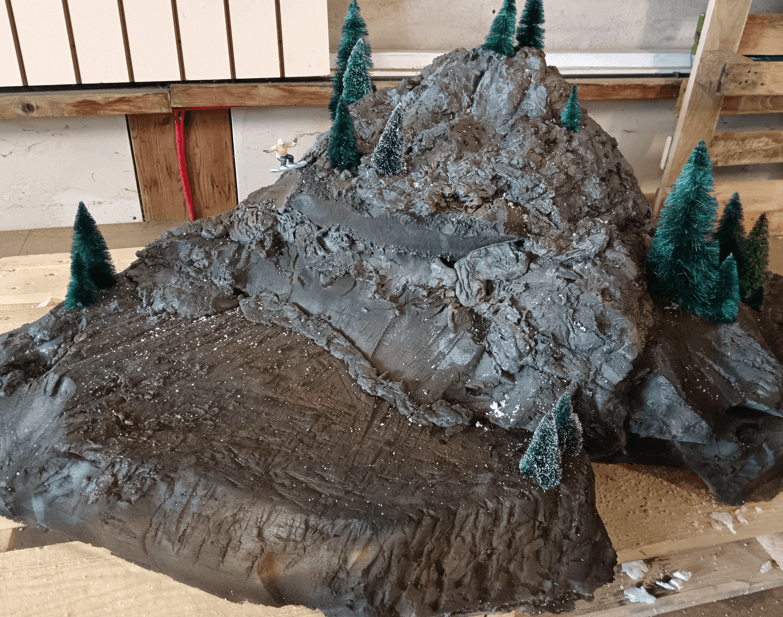
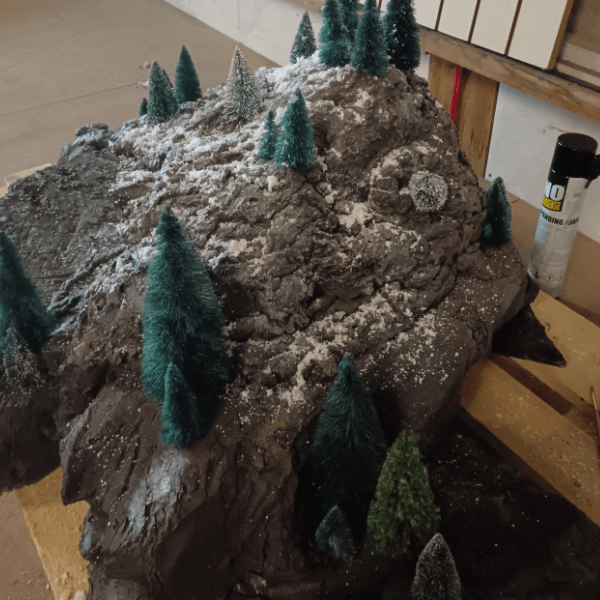
Don’t be afraid to make use of any household object when it comes to your display! For example, take our Mountain-Top. We made this out of a combination of insulation foam and expanding foam.
We cut and shaped a number of bits of insulation foam, laid these out together to form a slight structure. Then, we used expanding foam to fill the gaps between the shaped bits of foam and then sprayed the top of these pieces to create our “Mountain Peak”.
Once this had dried, we spray painted the structure with a number of different colours, using black as our base coat, then a light grey, dark grey, mousey brown and dark green to add texture and a more natural look to the overall finish.
You can do the same, you could even make use of polystyrene, cardboard, the options a limitless and cost very little if anything.
Just do it!
Whatever your budget, whatever your available space if you’ve ever even contemplated making a Christmas Village. Don’t delay, just go for it! You’ll learn so much along the way, enjoy every moment of it and more likely than not discover you’re far more handy than you gave yourself credit for!

View our range
View our full range online, with National Delivery available* or head in-store to experience the magic!
*Excludes Scottish Isles and Ireland, Mainland Only


